Introduction to KoFax
Kofax Power PDF is a document management tool that can be used by faculty and staff member as an alternative to Adobe PDF. However, Saint Mary's University does not have or provide a license to access KoFax.
To use KoFax Power PDF, faculty or staff members should reach out to their specific department to inquire about purchasing a license for it. To learn more about KoFax and compare it to Adobe PDF, please visit the KoFax website: Adobe vs Kofax PDF Software
Managing PDF's with KoFax
From a group of Files
On the Home tab, select Combine Files.

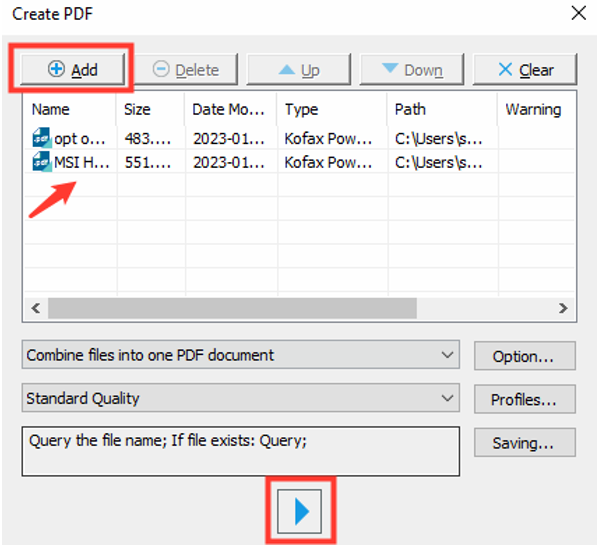
Once you click combine files, you will be able to select the PDFs that you would like to combine by selecting Add and searching through your files to fine each PDF.
You will be able to combine files in a few different ways, based on the options in the first dropdown list.
- Create a PDF for each input document: This will not combine your files but will make each file its own PDF document.
- Combine files into one PDF document: This option will take the PDFs you add and combine them in the order you have placed them in the list of PDFs.
- Overlay files as one PDF document: This will overlay each page of the selected PDFs. This is useful for creating a cover page with an image or adding a logo to a specific set of pages.
- Package files in one PDF document: This option will group the PDFs in a package so that they are easier to send at once. To view this package, you will need an up-to-date PDF viewer.
You will also be able to choose the quality of the combined PDF in the second dropdown menu. By default, it will be set to Standard Quality.
After you have selected your files you can click on the Start PDF Creation button to start combining your files.
Once it is completed, you will be asked to give it a filename and save it in your computer.
By combining all open documents
Open all the PDFs that you want to combine in Kofax. On the Home tab click Combine All.

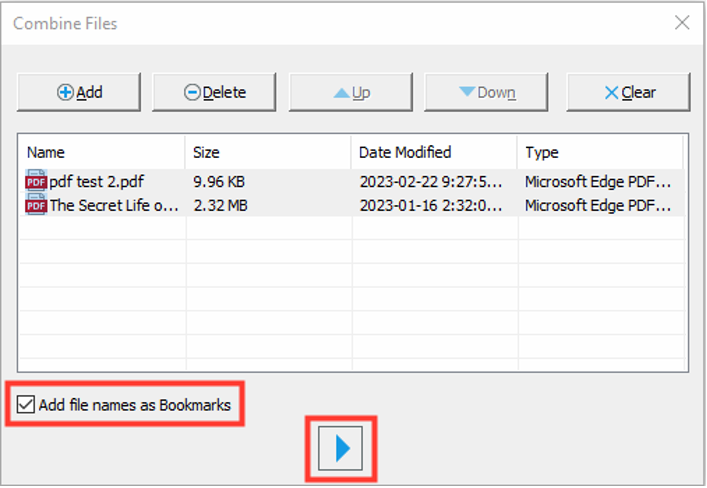
From the Combine Files window, you will be able to add, delete, or move the PDFs into the correct order. Choose whether you want the original file names to be added as Bookmarks. When ready, click the Start PDF Creation button at the bottom of the window to combine the files.
Once complete, your combined PDF will be opened in Kofax.
From the Home tab, select the Split option

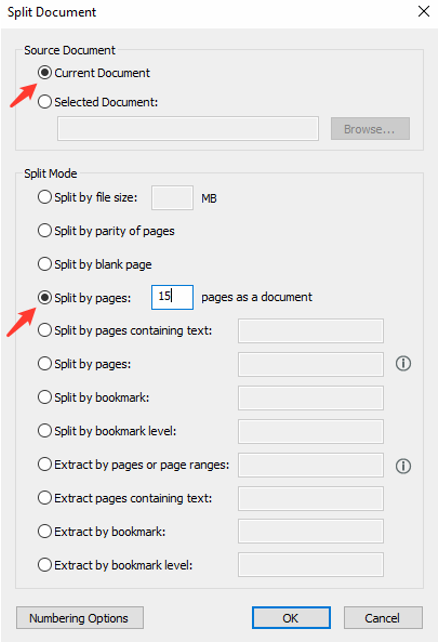
The Split Document window will appear.
Choose the Source Document. This will be either the Current Document, or a Selected Document that you find by browsing your files.
Next, choose the Split Mode.
- Split by file size: Enter the size of the resulting files that you want to split. Kofax will split the PDF into files that are no bigger than the file size entered.
- Split by parity of pages: This will split the PDF into even and odd pages, producing two files.
- Split by blank page: the PDF will be split at each blank page present in the document. The blank page will be discarded.
- Split by pages: Enter the number of pages you want in the resulting files. Kofax will split the PDF into files with pages equal to or less than the number specified.
- Split by pages containing text: Kofax will recognize a given text string and will split the PDF at each occurrence of the text string.
- Split by pages: This second occurrence allows you to designate the pages at which the document will split. The page numbers you give will be the first page of the split document.
- Split by bookmark: Enter a bookmark name. Kofax will split the PDF at the place that bookmark is found.
- Split by bookmark level: This will split the PDF at each point a bookmark of a particular level appears.
- Extract by pages or page ranges: This will extract pages or sections of pages from the PDF and creates a new file for each. These ranges must not be overlapping, or Kofax will give a warning of ‘invalid overlapping’.
- Extract pages containing text: Every page containing a given text string will be extracted and combined into a single document. The file name will be the given text string.
- Extract by bookmark: Every page marked by a particular bookmark will be extracted, and a new PDF file will be created for each page.
- Extract by bookmark level: Kofax will extract each section of a given bookmark level, creating a PDF file of each section. The name of each file will be the bookmark title at that level, and the files will be placed in folders that mirror the hierarchy of bookmark levels above the one you’ve chosen.
When you have selected the Split Mode, click OK. Choose the destination folder where you want the new PDF file(s) to be placed, then click Select Folder. The PDFs will be split and automatically added to your selected folder.
You can also extract pages by selecting the Extract option on the Home tab.

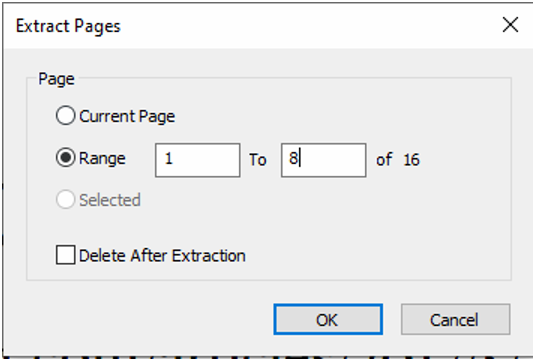
This will open the Extract Pages window, where you can choose to either extract the Current Page, or a single Range of pages in the document. Choose whether you want to Delete After Extraction to remove these pages from the file. Click OK and Kofax will automatically extract and open the page(s) you have requested.
If a page must be deleted from a PDF, got to the Home tab and choose Delete.

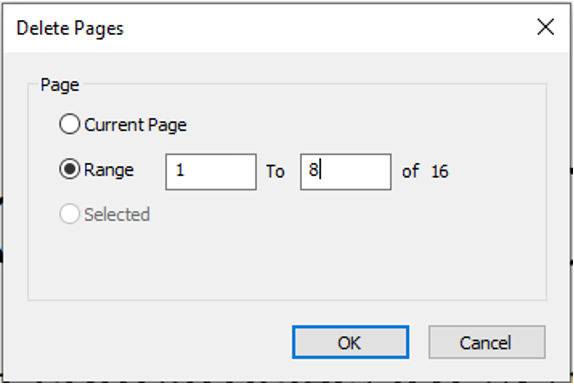
This will open the Delete Pages window. You can delete the Current Page, or select a Range of pages to delete. The last page number listed in your range will also be deleted. For example, if you delete a range of pages 1 to 8 out of 16 pages, the PDF will keep pages 9 to 16 but delete the rest.
When ready, click OK.
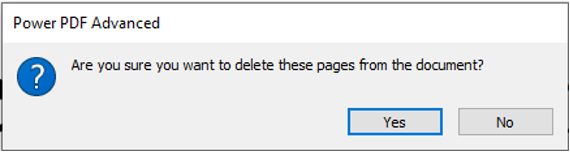
Kofax will ask you to confirm that you want to delete the pages. Click Yes, and the pages will be deleted from the file.
Managing Signature in KoFax
There are two ways to sign a document using Kofax. Using the Handwritten Signature option is easier, but less secure than creating a Digital ID. In many cases either type of signature will be accepted, but some forms may require the heightened security of Digital ID.
Handwritten Signature
Adding a Handwritten Signature works like adding a stamp to the document (similar to signatures in Adobe Acrobat). Go into the Security tab and select Handwritten Signature.

Select the Place option from the dropdown menu . If this is the first time you have used the Handwritten Signature option in Kofax, it will open the Add Handwritten Signature Box.
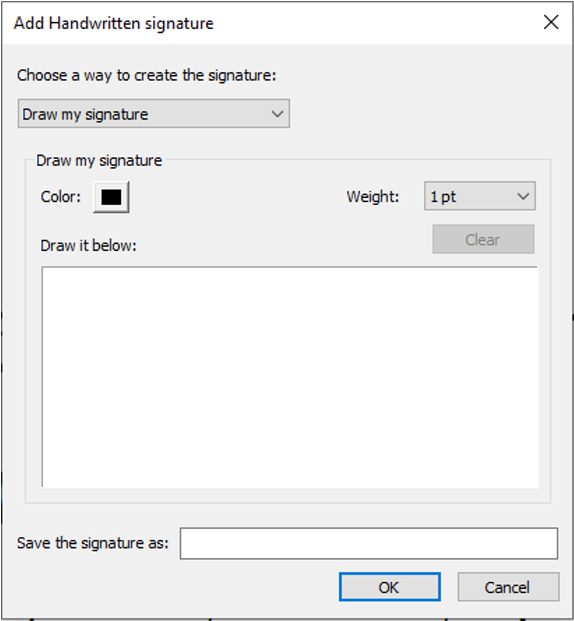
Choose a way to create a signature:
- Draw my signature: this option allows you to create a drawn signature and allows you to control the colour and weight of the lines in the drawing.
- Type my signature (most common option): this option allows you to create a typed signature of a particular font and colour. You can also choose to Bold or Italicize the signature.
- Import an image as my signature: If you already have an image file with your signature on it, you can import it using the Browse button under this option
When you have created your signature, click OK.
Select Handwritten Signature again and choose Place from the dropdown menu. Your Cursor will turn into a small targeting cross. Click and drag your cursor to select the space where your signature will be placed. When you release the click, your signature will be pasted in the space you’ve designated. Be careful when designating this space, as the signature will be stretched to fit the measurements of the space. You will be able to change the size of the resulting signature, but not the proportions between the height and width.
Digital ID Signature
If you have previously set up a Digital ID in Kofax, you can choose to sign documents with your Digital ID. Please see the Digital ID section below to set up your Digital ID.
From the Security tab, click the Sign option and select Sign Document from the dropdown menu. This will turn your cursor into a pen icon.

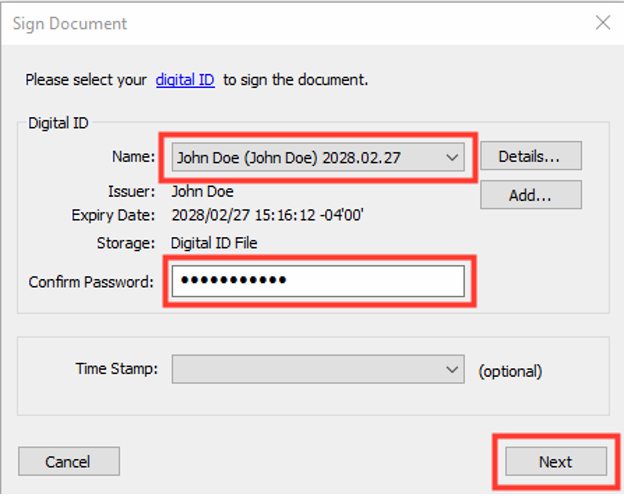
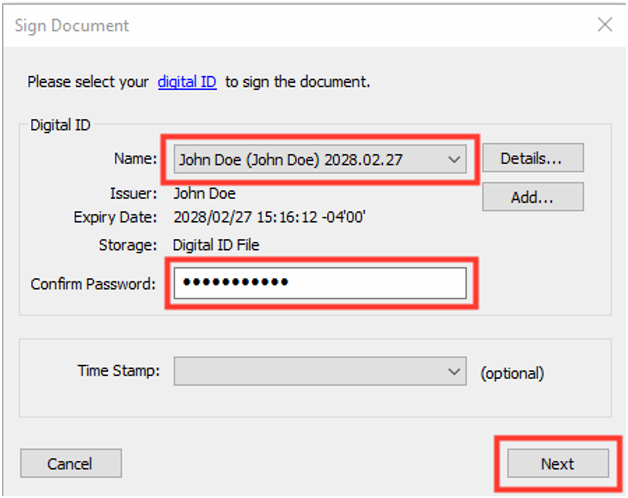
Click and drag the cursor to designate the space for your signature. When you release your click, the Sign Document window will appear. Select the Digital ID that you want to sign with, confirm the password for that ID, then click Next. This will move you to the second page of the Sign Document window.
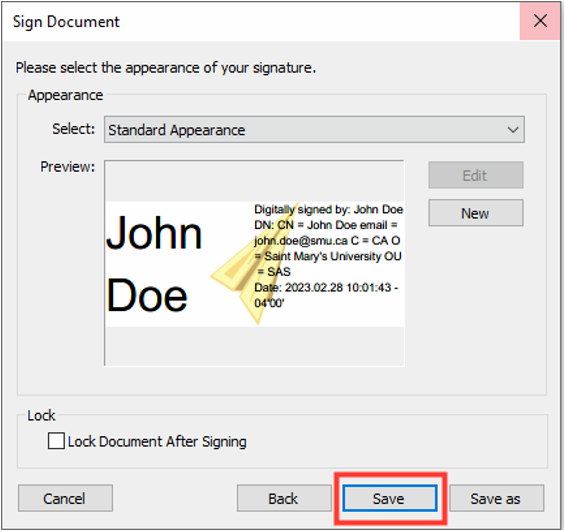
Choose the desired appearance for your signature from the Select dropdown menu under the Appearance section of the Sign Document window. A preview of the signature will be displayed in the Appearance section. You may also select the checkbox under the Lock section of the window to prevent editing of the document after you have added your signature. When finished, click Save.
Your chosen signature will be automatically applied to the document.
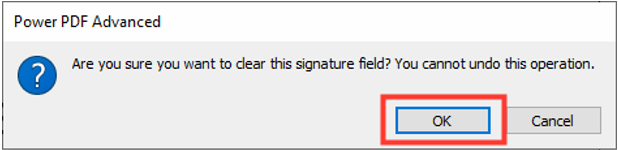
You will not be able to change or move the signature after it has been placed. If you need to remove your signature after applying it to the pdf, right click on the signature and select Clear Signature Field from the dropdown menu. When asked to confirm, click OK.
This will leave you with an empty signature field.
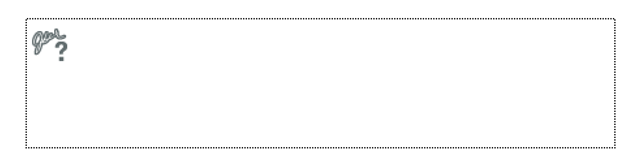
Right click on this signature field and select Delete Signature Field from the dropdown menu. The field will be deleted.
Adding a Digital ID
Before you can add a signature to a document, you will need to add a Digital ID to Kofax. Select the Security tab and click Manage Digital Identities.

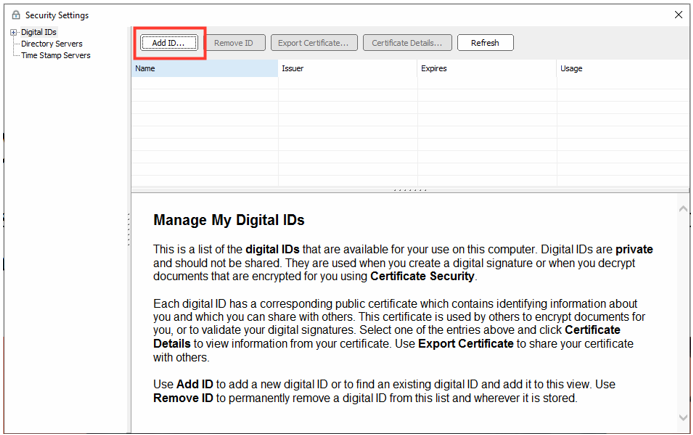
This will open the Security Settings window. Click the Add ID button.
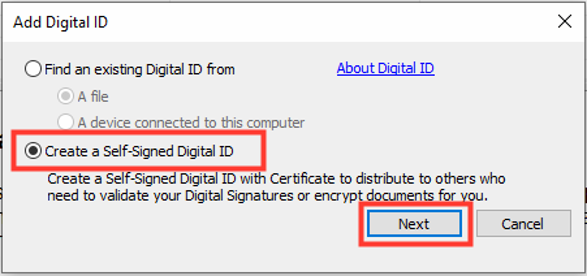
This will open the Add Digital ID window. If you already have a Digital ID, you can choose to find it in your files or on other devices connected to the computer. Otherwise, choose the option to create a self-signed Digital ID. When ready, click Next.
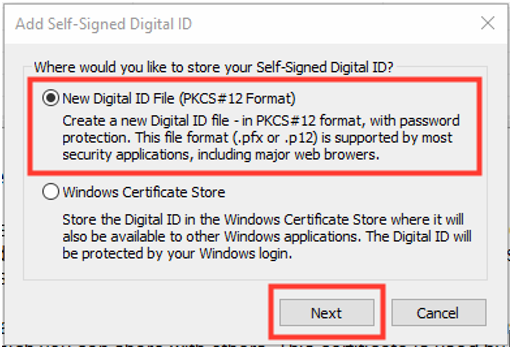
This will open the Add Self-Signed Digital ID window. Choose whether to create a new file to store your Digital ID, or to store it in the Windows certificate store. We recommend creating a New Digital ID File. When ready, click Next.
In the Create a Self-Signed Digital ID window, enter your information as fully as possible to create an accurate Digital ID. Create a password for the Profile File. When ready, click OK.

You will be prompted to save your Digital ID in your files. The file name will default to the name on the Digital ID. Click Save.
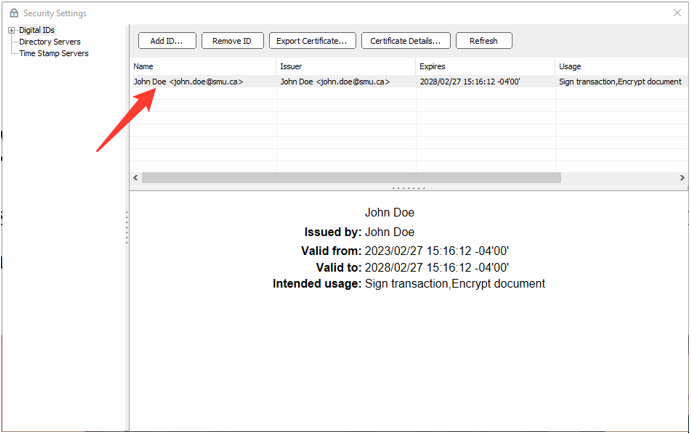
You will now see the new Digital ID listed in the Security Settings window. Clicking on this new Digital ID will show you a summary of the ID information, including the Issuer, Period of Validity, and Intended Usage.
Once the Digital ID is added, exit out of the Security Settings window, and you will be able to continue the process of signing the pdf.
Appearance of Digital ID
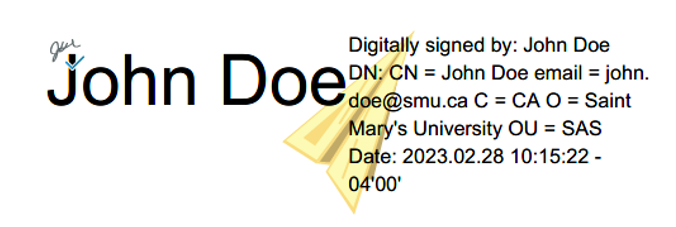
By Default, Kofax will create a Digital ID with the name of the ID in large font, and list the ID details in smaller font to the right of the name.
To change the appearance of this Digital ID, go to the Security tab and click Sign, then choose Sign Document from the dropdown menu.

Click and drag the cursor to designate the space for your signature. When you release your click, the Sign Document window will appear. Select the Digital ID that you want to sign with, confirm the password for that ID, then click Next. This will move you to the second page of the Sign Document window.
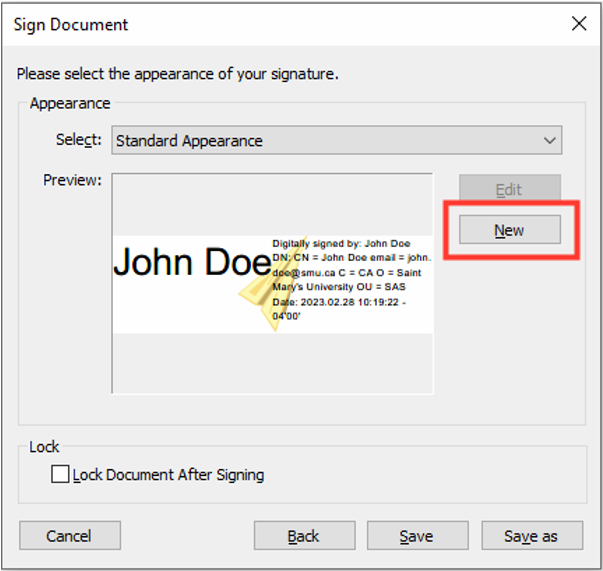
Under the Appearance section of the Sign Document window, click the New button. This will open the Configure Signature Appearance window.
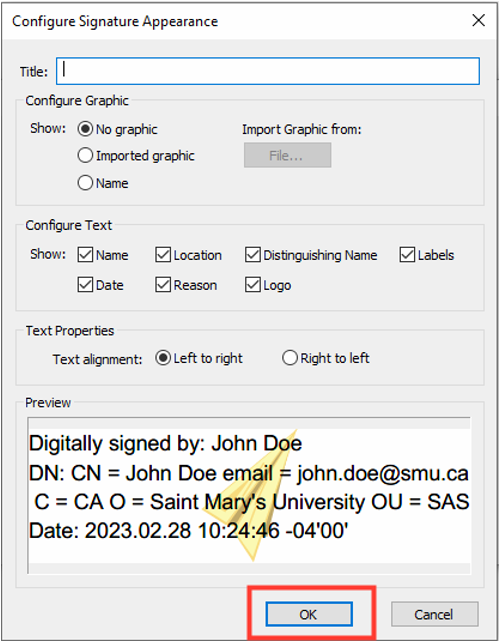
On the Configure Signature Appearance window, add a Title for the new appearance. Under the Configure Graphic section, choose whether to show No graphic (i.e., no large-font name), and Imported graphic (i.e., an image file of your handwritten signature from your computer) or the Name.
Under the Configure Text section you can select what details you want to show in the Digital ID. You can choose to show the following options:
- Name: this is presented as “Digitally signed by: John Doe”
- Date: this is the date and time listed in the format YYYY.MM.DD HH:MM:SS
- Location: location the signature was signed in
- Reason: if you are required to add a reason for signing a document, you can toggle it on and off using this option.
- Distinguishing Name: this lists your name again, your email, the initials of your country, organization name, and organization unit name.
- Logo: this logo is a yellow paper airplane.
- Labels: these are the labels that identify each piece of information above.
When you are finished creating a new Digital ID Signature Appearance, click OK.
Back on the Sign Document window, click Save.
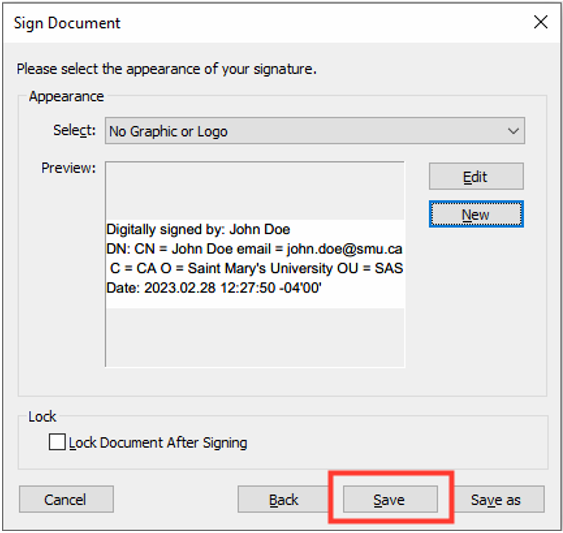
The Digital ID signature with the new appearance will be added to the PDF document. The next time you use the Sign feature this appearance will be accessible through the Select dropdown menu.
Managing Accessibility in KoFax
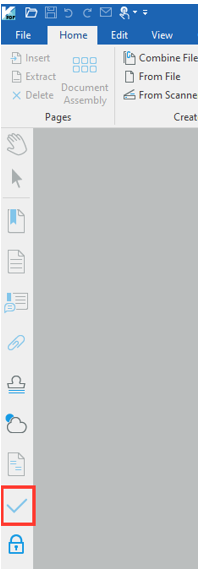
The Accessibility Checker can be added to the panels on the left of the software when no files are open. This panel is called the PDF Compliance Checker and is represented with a checkmark icon. You will also need to use the Reading Order panel, represented by a sheet of paper with two pieces of text displayed on the sheet.
Running an Accessibility Check
Once you have added the PDF Compliance Checker and the Reading Order panel, you are ready to set up and run accessibility checks.
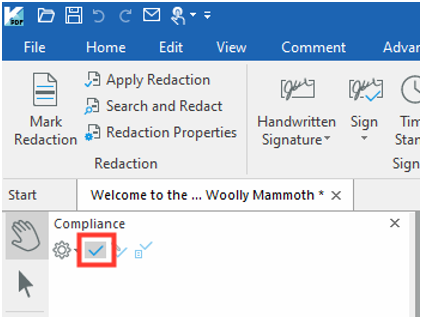
Open your PDF file in Kofax, then click on the checkmark icon in the shortcuts panel to open the Compliance Panel.
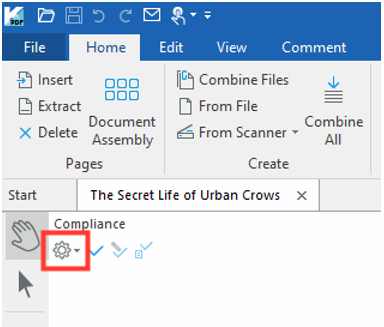
Click the Options cog icon and select Accessibility from the dropdown menu.
Click the Accessibility Check icon on the Compliance Panel to open the Accessibility Checker Options window.
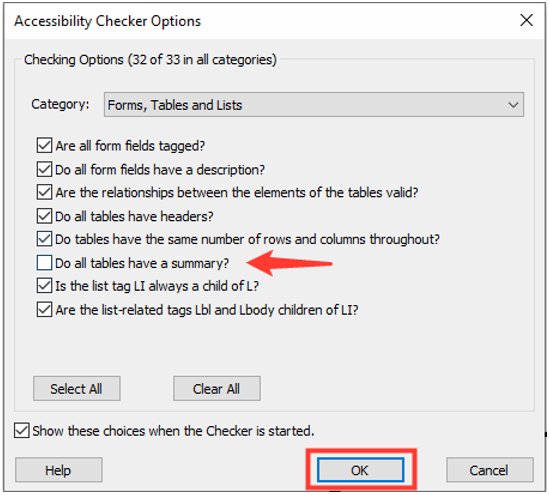
Under the Checking Options section you can select specific items to check from four categories. These categories are Document, Page content, Forms, Tables and Lists, and Alternate Text and headings. By Default, all items are selected except, “Do all tables have a summary?” under the category Forms, Tables and Lists. This setting may not be necessary for simple tables.
When you are ready, click OK.
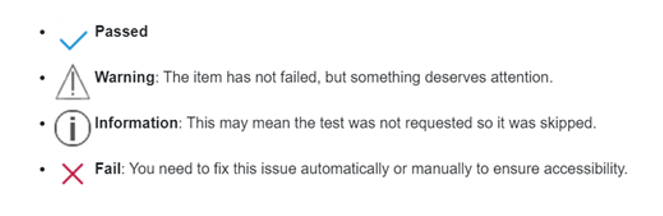
The accessibility check displays a status for all the items checked. The status indicators are:
- Passed (a check mark), means the item has passed the check.
- Warning (a triangle with an exclamation point inside), means the item has not failed the check, but does require further attention.
- Information (a circle with a lower case i inside), gives extra information about the check. This indicator is seen when an item was skipped in the check.
-
Fail (an x mark), means you need to fix this issue to ensure accessibility.
To address a failure or get more information about an issue, right click on the item that failed the check. From the dropdown menu, you can choose Fix, Skip Rule, Explain, or Options.
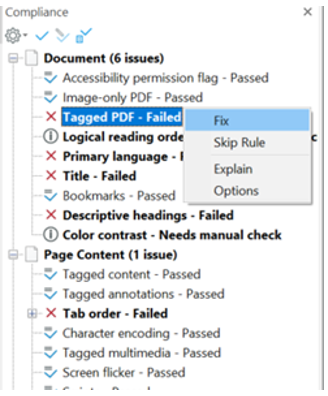
When you click Fix, Kofax will open a new window with applicable options that help you fix the identified issue, or it will automatically apply a fix for the problem.
When you click Skip Rule, Kofax will mark the issue with a Warning icon, but will no longer mark it as a Fail. This option is not recommended unless you are certain that the issue will not impede access.
When you click Explain, Kofax will open a webpage that has explanations of the issue, as well as suggestions for fixing the issue.
When you click Options, Kofax will reopen the Accessibility Checker Options window, where you can change which checking options are selected.